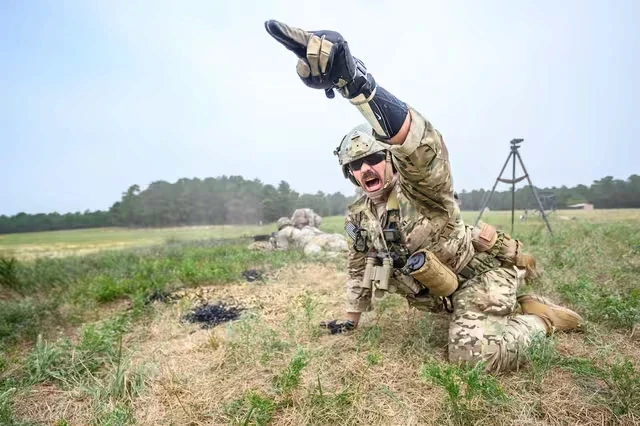
Break Contact
Not every fight is one you should win. When the enemy has the numbers or the position, the smart move is to disengage — cleanly, violently, and on your terms. Break Contact is the drill that gets a squad off the X using fire and movement: suppress, screen, and bound away by teams until the enemy can no longer touch you. Here is the whole drill, step by step, the way it runs on the ground.
Interactive Walkthrough
Hit play and watch the drill unfold from above, or step through it at your own pace. Gold is A Team, blue is B Team, white is the squad leader, red is the enemy. Every movement on the map matches the written steps below.
The Ranger Handbook (TC 3-21.76) is the source for every drill on this page — mandatory kit for any military leader.
Bounding under fire is a footwear test — the full ranking: Best Military Boots 2026.
Don’t Miss the Next Drill
More patrolling and battle drill pages are being built right now, animated the same way. Subscribe and I’ll let you know the moment new tactics, articles, and gear reviews go live.
Task · Conditions · Standards
Break direct-fire contact with an enemy force and disengage the squad using fire and movement, when continuing to fight is not the right call.
The squad is moving as part of a larger force on a movement to contact or attack. It makes direct-fire contact with an enemy force, and the leader decides to break contact rather than assault.
The squad breaks contact using fire and movement and continues to move until the enemy can no longer observe or place fire on it. Every soldier is accounted for and the leader reports the contact to higher.
The Full Sequence
Squads that walk this drill on a terrain model before stepping off run it clean the first time live — build the objective, talk every phase.
Comms & Reports
The 3 D's — First Words After Contact
Whoever sees the enemy shouts it so the whole squad hears it. No radio required.
- Distance — "200 meters!"
- Direction — "Right front!" / clock direction / TRP
- Description — "MG team, larger force!"
The Break-Contact Command
One clear call that sets the whole drill in motion — by the clock method:
- Who suppresses — "A Team, base of fire"
- Who moves — "B Team, move"
- Direction — clock method: "eight o'clock"
- Distance — "three hundred"
- Where you link up — "Rally Point One"
Fire Commands (ADDRAC)
Team leaders control the suppressing fire — point with tracers or 40mm.
- Alert — "Gun team!"
- Direction — "Right front!"
- Description — "MG, base of treeline"
- Range — "Two hundred!"
- Assignment — "SAW, cyclic!" to win it, then "rapid" to keep them down; "Grenadier, 40 mike-mike on the gun"
- Control — "FIRE!"
Contact Report (SALT) — to the PL
Sent up to higher as the squad disengages:
- Size — "Reinforced squad, MG"
- Activity — "Engaging us, we are breaking contact"
- Location — grid, or direction & distance
- Time — time observed / now
When to Bound — No PACE Needed
This drill does not need a PACE signal plan. The cue is the guns:
- Front team — bounds when its leader is ready to move
- Support team — is "set" the moment it opens covering fire
- Open fire — means "you're covered, move"
- Lift / shift — as the bounding element masks the guns
- Ranger U rule — the man with a clear sector on the shooter returns fire first, then gets down; men without a sector get behind cover
- Ranger U rule — the man with a clear sector on the shooter returns fire first, then gets down; men without a sector get behind cover
- Ranger U rule — the man with a clear sector on the shooter returns fire first, then gets down; men without a sector get behind cover
ACE Report — at the Rally Point
Team leaders report to the SL during reorganization:
- Ammo — count and cross-level: the base of fire shot the most, so the maneuver team gives up mags until everyone is even
- Casualties — treat and evac priority
- Equipment — sensitive items, weapons up
- + Headcount — every soldier accounted for
SALUTE, ACE, and every report above gets written, not memorized — in the all-weather leader book that’s standard issue for a reason.
Where Squads Fail This Drill
Fighting a Battle You Should Leave
Break Contact lives or dies on a fast, honest assessment. Squads that try to slug it out with a superior force — or freeze on the decision — get fixed and finished. If you can't win it, leave it: make the call early and commit.
Bounding Without Suppression
The moving element only lives because the enemy's heads are down. Bound before the base of fire has won the firefight and you are moving men across open ground into accurate fire. Suppress first, every bound.
No Direction, Distance, or Rally Point
Without a clear clock direction, a distance, and a rally point, the squad fragments under fire and scatters in three directions. The command has to answer: who fires, who moves, which way, how far, where we link up.
Cutting Smoke & Suppression Too Early
Smoke screens the move and fire keeps the enemy down — stop either one too soon and the displacing element is exposed. Keep the obscuration up and the guns working until the squad is masked by terrain.
Not Changing Direction After the Break
Breaking line-of-sight is not the end — a squad that keeps walking the same azimuth eats the enemy's indirect fire. Once contact is broken, change direction so the enemy can't predict where you went.
Losing Accountability at the Rally Point
A break-contact that leaves a soldier behind is a failed drill. Security out, then a hard headcount and an ACE before anything else — nobody moves on until every man and every sensitive item is accounted for.