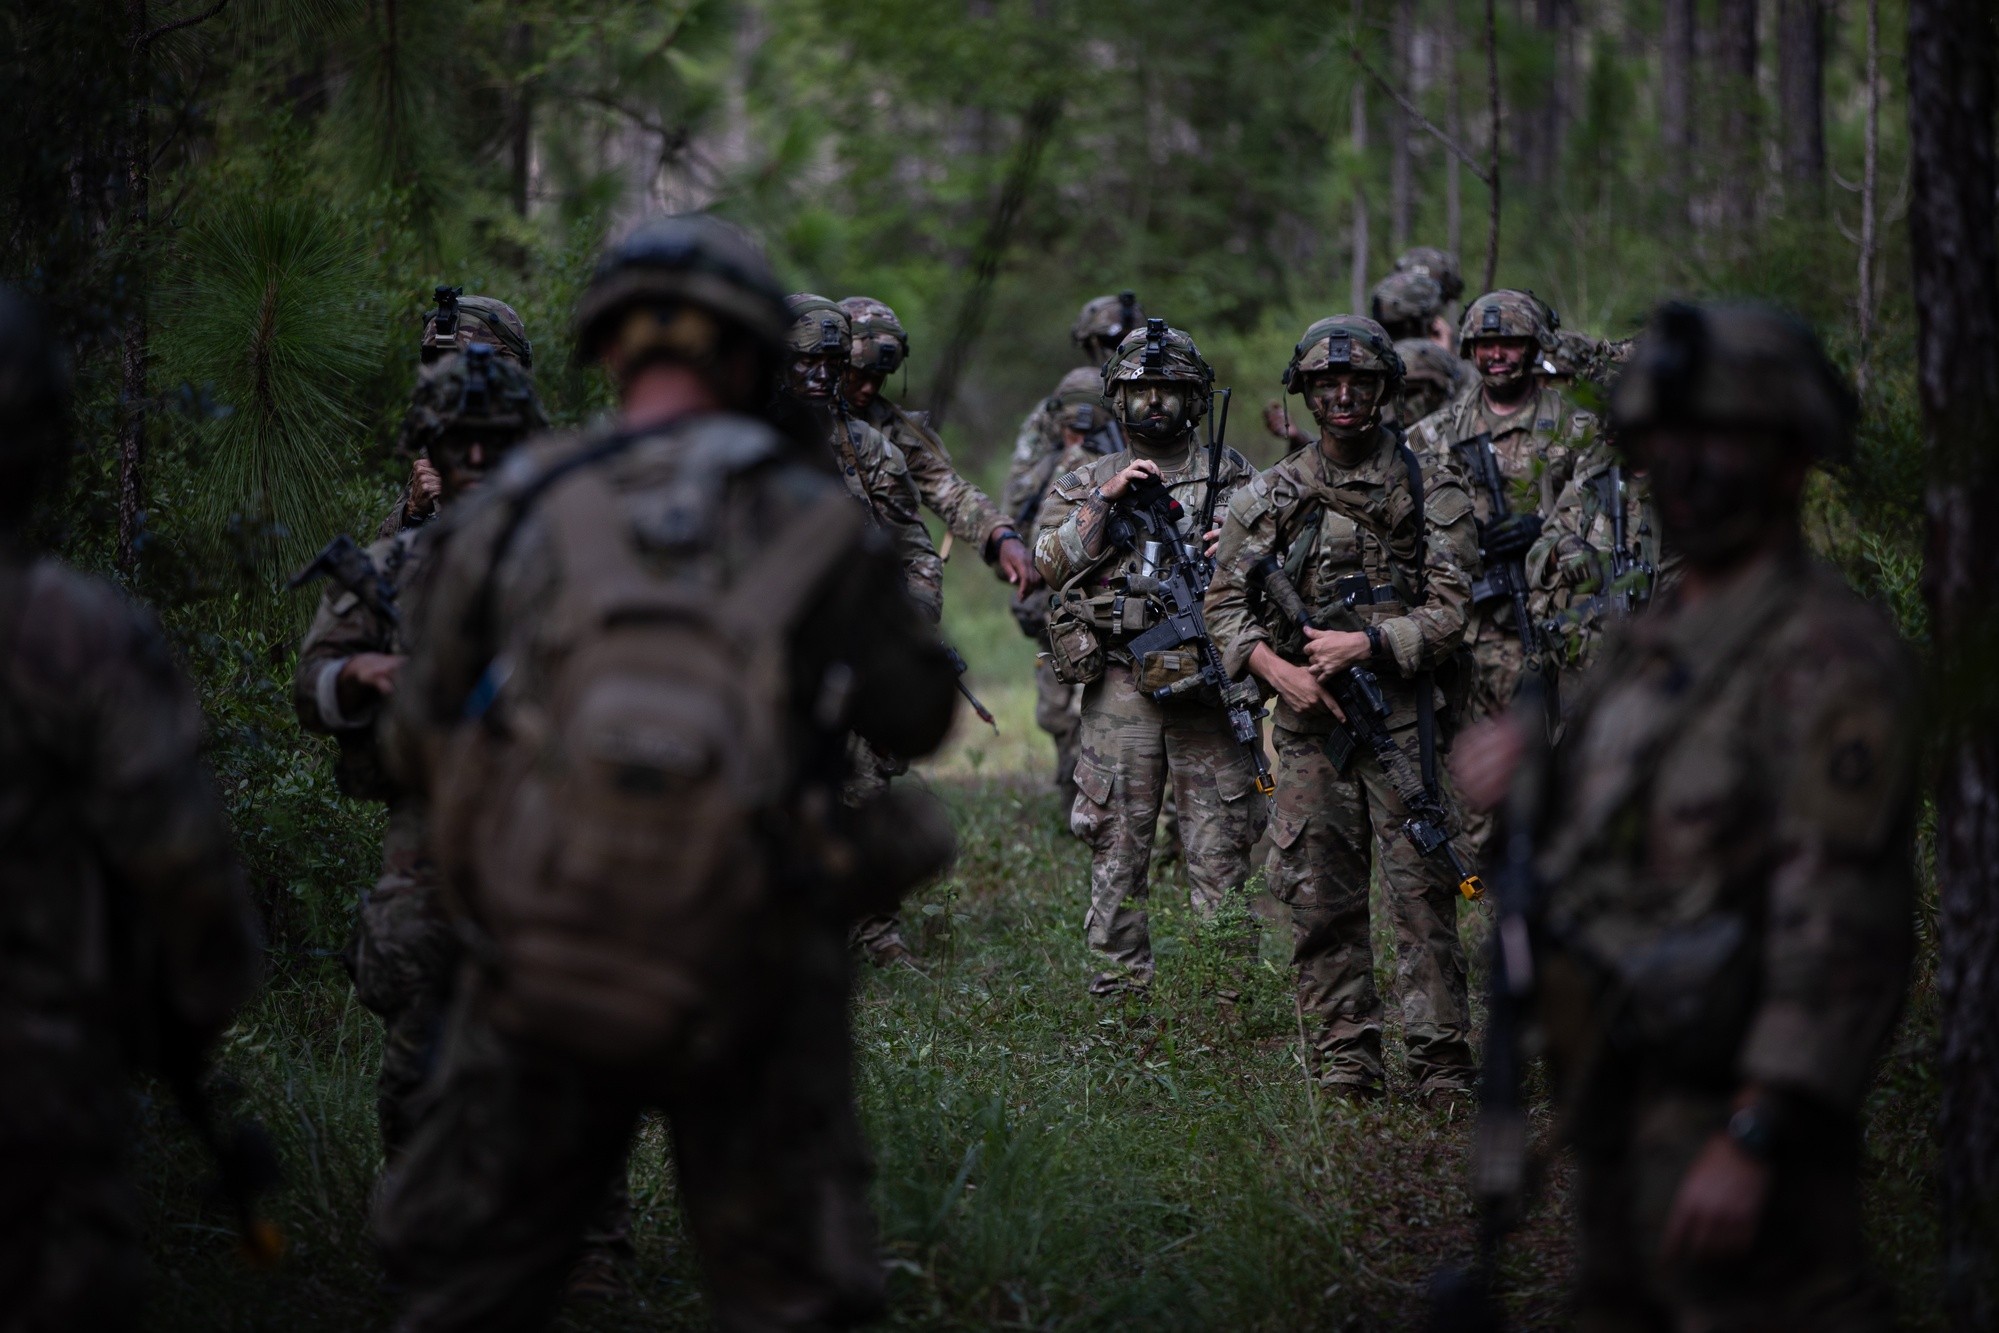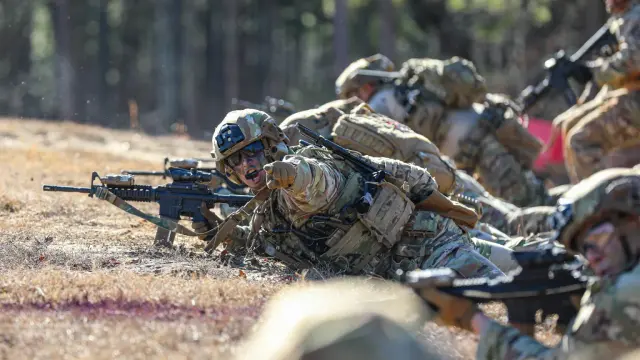
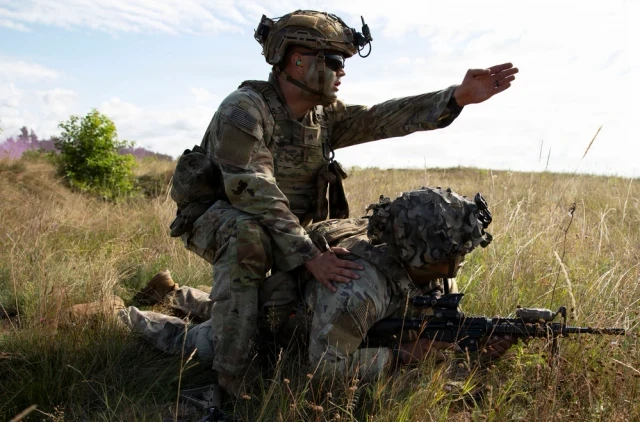
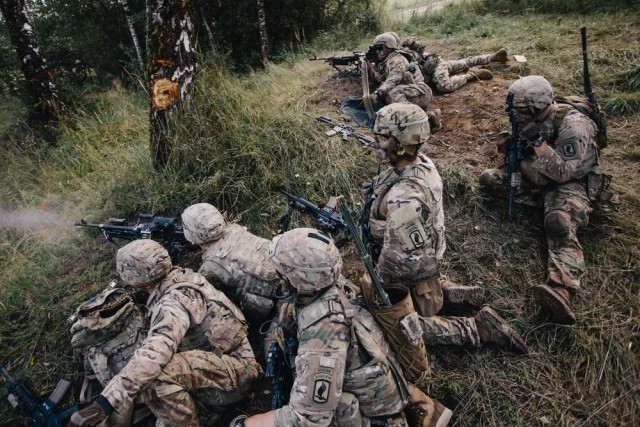
Advisors from 2nd Security Force Assistance Brigade practice the react to contact battle drill during a live-fire exercise on Fort Liberty, North Carolina
// FIELD MANUAL · PATROLLING & TACTICS · 2026
TACTICS · BATTLE DRILLS · DOCTRINE

React to Contact

ADVISORS, 2ND SFAB · REACT TO CONTACT LIVE-FIRE · FORT LIBERTY, NC · JAN 05, 2023 · U.S. ARMY PHOTO / SPC. JONATHAN D. VITALE

WRITTEN BY A RANGER GRADUATE · REAL EXPERIENCE · ZERO SPONSORED OPINIONS

Battle Drill 1A, the squad drill every Infantryman burns in first: return fire, get on line with clean lanes, win the firefight, report, and make the call. Task, conditions, standards, a step-by-step animated walkthrough, and the field notes they don't print in the manual. The assault that follows is Battle Drill 2A, on its own page. Every other drill is on the Army battle drills page, squad and platoon, animated the same way.

10 DRILLS ANIMATED WALKTHROUGHS ATP 3-21.8 SOURCED ZERO SPONSORED OPINIONS
// BATTLE DRILL 1A · SQUAD
UPDATED OCT 16, 2026

React to Contact: Squad

The first drill every Infantryman burns into muscle memory. When the enemy opens up, there is no time for a planning process — the squad executes a rehearsed sequence: return fire, seek cover, get on line, report, and decide. Here's the whole drill, step by step, exactly how it runs on the ground, ending on the squad leader's call: frontal assault, bold flank, or break contact. If the call is an assault, the squad is running Battle Drill 2A, Conduct a Squad Assault, which has its own page.

// STEP-BY-STEP AUTOMATION

Interactive Walkthrough

Hit play and watch the drill unfold from above, or step through it at your own pace. Gold is A Team, blue is B Team, white is the squad leader, red is the enemy. Every movement on the map matches the written steps below.

// BD 1A · REACT TO DIRECT FIRE CONTACT · SQUAD (9 PAX) TOP-DOWN · 1 PX = 0.5 M · CONTOURS EVERY ~5 M
WOODLINE TRAIL // MOVEMENTSQUAD COLUMN, FIRE TEAM WEDGESA TEAM LEADS, SL CENTER, B TRAILSARs ON OPPOSITE FLANKSSPACING SET BY TERRAIN (METT-TC) MG TEAM OPENS UP FROM THE WOODLINE TL + AR HAVE THE SECTOR: THEY FIRE FIRST,THEN GET DOWN. GR + RM GET BEHIND COVER // CONTACT: THE 3 DsDIRECTION: "RIGHT FRONT, ONE O'CLOCK"DISTANCE: "ONE FIFTY"DESCRIPTION: "MG TEAM, WOODLINE" A ON LINE, PERPENDICULAR TO THE GUN:GR + RM COME UP ON THE LEFT, BEHIND THE LINE B TEAM: FLANK + REAR SECURITY // SALT TO THE PLSIZE: TWO-MAN MG TEAMACTIVITY: SUPPRESSING FROM THEWOODLINE, DUG INLOCATION: ONE O'CLOCK, 150 M, GRIDTIME: NOW // THE DECISIONSL IS UP WHERE HE CAN SEE. TWO MEN,ONE GUN. WE HAVE NINE AND 3-TO-1:ASSAULT. FROM HERE THE SQUAD RUNSBD 2A, CONDUCT A SQUAD ASSAULT.A = BASE OF FIRE, B = ASSAULT // A TL FIRE COMMANDS"SAW, MG TEAM, ONE O'CLOCK, ONEFIFTY. CYCLIC. FIRE!""GRENADIER, 40 MIKE-MIKE ON THEGUN. FIRE!" THEN: "SAW, RAPID,KEEP THEM DOWN." 40MM ON THE GUN B RUCKSA RUCKS BOLD FLANK RIGHT: COVER AND CONCEALMENT,NEVER IN FRONT OF A TEAM'S GUNSASSAULTPOSITION // BATTLEFIELD HANDOVERB SET ON LINE, OPENS FIRE: NOW ITOWNS ITS OWN SUPPRESSION.B TL RUNS FIRE COMMANDS AND RATESSO THE GUNS ARE NOT DRY GOING IN.SL BEHIND B'S AR, OUT OF HIS SECTOR A SHIFTS FIRE TO THE FAR SIDE,AWAY FROM B. SIGNAL BY PACE PLANSHIFTED FIRES: BEYOND THE OBJECTIVE BUDDY RUSHES: TL + AR MOVE TOGETHER,GR + RM COVER. 3-5 SECONDS A LIFTS FIRE BEFORE B CROSSESITS LANE. GUNS SILENT, WEAPONS UPB ASSAULTS THROUGH AS A TEAM, ON LINE,AT THE HIGH READY: NOBODY IN FRONT OF YOU EN KIA MANEUVER LOA35 M PAST THE LAST ENEMY // LOA DRILLSSECTORS: EVERY MAN FACING OUTBUDDY RELOAD: ONE UP, ONE DOWNREPOSITION WEAPONS: SAW ON THELIKELIEST COUNTERATTACK LANEHEADCOUNT + SENSITIVE ITEMSNO AMMO/WATER COUNT: NO RESUPPLY HERE BASE OF FIRE LOA · 35 M THE L: TWO LEGS, ONE APEXSL JUST BEHIND THE APEX, COVERED BY BOTH LEGSA ASSAULTS THROUGH AS A TEAM, ON LINE,AT THE HIGH READY: NOBODY IN FRONT OF YOU EPW / CLEARANCE: BACK-CLEAR EN 1 -> EN 2COUNT EKIA + WEAPONS · 5 S'SAID & LITTER: THE GRENADIERS (RED RINGS) // SPECIAL TEAMS (RANGER U)EPW/CLEARANCE: BOTH RIFLEMENPRIMARY + ALTERNATE NAMED BEFORESTEP-OFF. DEMO RIDES WITH THEMAID & LITTER: BOTH GRENADIERS(BIGGER MEN, NEVER THE SAW GUNNER)TLs STAY ON THE LINE. TIME HACK:HALF THE ENEMY'S REACTION TIME GET OFF THE X: B GRABS RUCKS, THEN A.WEDGES, 1 KM OR A TERRAIN FEATURE(NOT TO SCALE) REORG POINT 360: EVERY MAN ON A KNEE,FACING OUT. SL IN THE MIDDLE // CONSOLIDATESECURITY FIRST: 360, SECTORSHEADCOUNT: ALL 9, BY TEAM LEADERACE: AMMO, CASUALTIES, EQUIPMENTCROSS-LEVEL MAGS: B (MANEUVER)GIVES TO A (BASE OF FIRE) UNTILEVERY MAN HAS THE SAME COUNTWATER, SENSITIVE ITEMS, WOUNDED // SALT TO THE PLSIZE: TWO-MAN MG TEAM, 2 EKIAACTIVITY: OBJECTIVE CLEAREDLOCATION: WOODLINE, GRIDTIME: NOW. THEN: CONTINUE MISSION FRONTAL ASSAULTTHE SQUAD STRAIGHT IN · BD 2ABOLD FLANKB TEAM ROUND · BD 2ABREAK CONTACT · BD 3A// THE CALL: ONE OF THREEHOW BIG, WHERE ARE HIS FLANKS, WHATCOVER GETS ME THERE, CAN I WIN IT?FRONTAL ASSAULT: WEAK, CLOSE, NOCOVERED FLANK. THE SQUAD GOESSTRAIGHT IN. BOLD FLANK: B TEAMROUND A COVERED ROUTE. BREAKCONTACT: OUTGUNNED. SAY IT ONCE MG TL AR GR RM SL TL AR GR RM N 50 M A TEAM B TEAM SQUAD LEADER ENEMY
// PHASE 0 OF 13

// LEADER FOCUS

// KEEP THESE TACTICS IN YOUR POCKET

The Ranger Handbook (TC 3-21.76) is the source for every drill on this page — mandatory kit for any military leader.

Get the Ranger Handbook → As an Amazon Associate, WarfighterForged earns from qualifying purchases · disclosure
// MORE TACTICS IN DEVELOPMENT

Don’t Miss the Next Drill

More patrolling and battle drill pages are being built right now, animated the same way. Subscribe and I’ll let you know the moment new tactics, articles, and gear reviews go live.

// NO SPAM · NEW DROPS ONLY · UNSUBSCRIBE ANY TIME
// THE STANDARD

Task · Conditions · Standards

// TASK

React to direct fire contact while moving as a squad, transitioning immediately from movement formation to fire and maneuver.

// CONDITIONS

Squad moving tactically (wedge/column). Enemy engages with direct fire from a concealed position. Squad has not been effectively suppressed.

// STANDARDS

Soldiers in contact return fire and take cover within seconds. Squad locates the enemy, achieves fire superiority, and the squad leader makes a maneuver decision — attack or break contact — and reports to the platoon leader.

// THE SEQUENCE

The Full Sequence

// REHEARSE IT FIRST

Squads that walk this drill on a terrain model before stepping off run it clean the first time live — build the objective, talk every phase.

Get the Terrain Model Kit →
// WHAT COMES NEXT · THE CALL

React to Contact ends when the squad leader decides. Each call is its own drill:

// TALK THE DRILL

Comms & Reports

The 3 D's — First Words After Contact

Whoever sees the enemy shouts it so the whole squad hears it. No radio required.

  • Distance — “200 meters!”
  • Direction — “Right front!” / clock direction / TRP
  • Description — “MG in the treeline!”
  • Ranger U rule — the man with a clear sector on the shooter returns fire first, then gets down; men without a sector get behind cover

Fire Commands (ADDRAC)

Team leaders control fires — point with tracers or M320 rounds.

  • Alert — “Gun team!”
  • Direction — “Left front!”
  • Description — “Bunker, base of treeline”
  • Range — “Two hundred!”
  • Assignment — “SAW, cyclic!” to win it, then “rapid” to keep them down; “Grenadier, 40 mike-mike on the gun”
  • Control — “FIRE!”

SALT Report — to the PL

The contact report sent up to higher while the base of fire works:

  • Size — “Two-man MG team”
  • Activity — “Suppressing us from the treeline”
  • Location — grid, or direction & distance (“~200m, our 1 o'clock”)
  • Time — time observed / now

The Call — One of Three

From behind the team in contact, where the SL can see. Said once, then the plan:

  • Frontal assault — weak, close, no covered flank: the squad goes straight in. Battle Drill 2A
  • Bold flank — a covered route to his flank: “A base of fire, B assault right.” Battle Drill 2A
  • Break contact — outgunned: direction, distance, rally point. Battle Drill 3A
  • Whatever the call, the SALT report goes up first
// WRITE IT DOWN

SALUTE, ACE, and every report above gets written, not memorized — in the all-weather leader book that’s standard issue for a reason.

Get the Rite in the Rain →
// LEARN IT HERE, NOT AT JRTC

Where Squads Fail This Drill

Freezing Instead of Firing

The single most common failure. The first response to effective fire is violence of action — immediate, aimed return fire — not waiting for instructions. Seconds of hesitation hand the enemy fire superiority.

Maneuvering Without Suppression

If the enemy can still place accurate fire, the flank gets eaten alive. The base of fire must win the firefight before the assault element moves. Tracers walking into the position, enemy fire dropping off — that's your cue.

The SL Fighting Instead of Leading

A squad leader glued to his rifle isn't assessing, isn't reporting, and isn't making the maneuver decision. Your weapon system is the squad. Run it.

Crossing a Lane to Get On Line

The two men without a sector run in front of the men who are firing. Getting on line means moving behind the line, never through it. Clean lanes first, then more rifles.

Deciding Late, or Not at All

A squad that keeps shooting after the firefight is won has handed the choice to the enemy. Once the fire is superior and the report is up, the SL makes one of three calls: assault, break contact, or support by fire. Say it once.

Everybody Shooting at Nothing

Nine rifles emptying magazines at a treeline suppresses nobody and burns the basic load before the decision is even made. Team leaders mark the gun and call the rate; men without a sector get behind cover and wait for a lane.
// SOURCES

References

ATP 3-21.8 — Infantry Rifle Platoon and Squad, Jan 2024 (Appendix E, Battle Drill 1A: React to Direct Fire Contact, Squad · 07-SQD-D9512; the assault that follows is Battle Drill 2A, on its own page) · TC 3-21.8 — Infantry Platoon and Squad Collective Tasks · Ranger Handbook (TC 3-21.76) — Battle Drills · Personal experience: live-fire lanes, JRTC rotations, Ranger School patrols
// FREE PDF · LEAD MAGNET

The 4-Week Hybrid Military Program

The exact framework I use myself — built for the soldier juggling unit life, school, and a real schedule. Free PDF delivered to your inbox in under 60 seconds.

// WHAT'S INSIDE
  • 5 lift days · 3 run days per week, supersets for 45-minute sessions
  • Week-over-week progressions targeting AFT and combat-MOS standards
  • Hybrid framework — strength, conditioning, and recovery, balanced
  • Built around real soldier schedules — unit time, school, family
// 750+ SOLDIERS USING THIS NOW · NO SPAM · UNSUBSCRIBE ANY TIME
// FOLLOW THE MISSION

@warfighterforged

Daily carousels. Real soldier breakdowns.

Follow on Instagram →
WARFIGHTERFORGED Free AFT ProgramFree Program →